Wednesday, December 28, 2011

Christmas Cookie Time

Here are some gingerbread cookies I recently made.


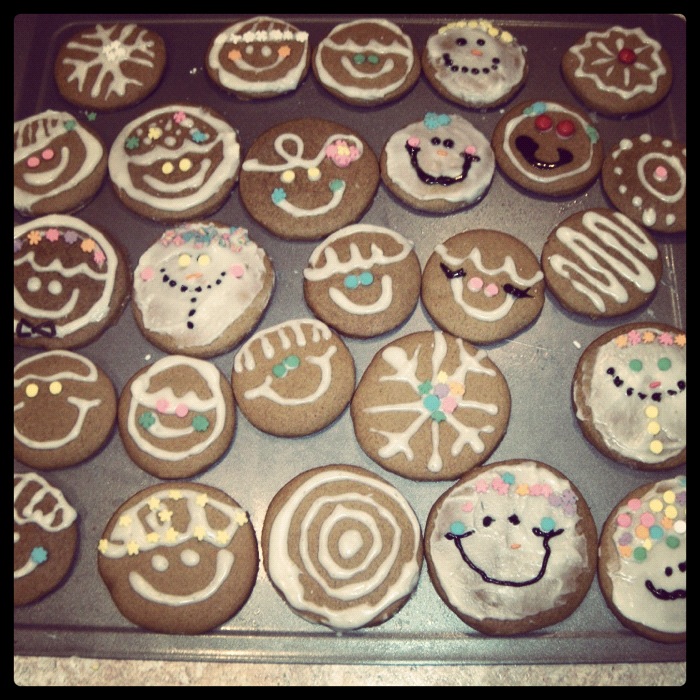
Aren't they adorable? They were simple to make and tasted wonderful!
Get the directions and recipe here: http://www.bakerella.com/gingerbreads-heads/

Wednesday, August 10, 2011

Basic Friendship Bracelet Tutorial


After working at several summer camps over the past few years I've learned how to make quite a few of these classic summertime accessories. Making friendship bracelets are much easier than they seem. If you are still lost after my tutorial please check out this link: http://friendshipbracelets.wordpress.com/2008/07/17/summer-project-friendship-bracelet-making/ In this tutorial I will explain how to do the basic knot which creates a diagonal stripe. The same knot is used to create the arrow design.

diagonal stripe (2) and arrow design

What you will need:

  • scissors
  • tape
  • embroidery floss

First choose what colors you would like to create your bracelet with. 1. Cut embroidery floss to about 30 inches. It depends on the size of the wrist.


2. Next gather all string and tie in knot. Make sure to leave enough room at the end to be able to tie the finished bracelet around a wrist.


3. Now we can begin! Tape bracelet down to hard surface such as a table or clipboard. Separate individual strings like shown in picture. (If making the arrow design [shown below] divide bracelet to have one string of each color on either side of the bracelet. a. and aa. are the same color but on different sides. You will work on sides of the bracelet individually and then connect them in the middle).


Take string on the far left (a.) and place it over the first string to the right (b.) making a "4" shape. Then take the end of string a. and place it under string b. and pull up though the middle of "4" shape. Pull string a. towards the top of the bracelet while holding b. string still. Repeat this step. String b. will now be on the left of string a. Continue using string a. to make the "4" knot over the remaining strings. 


Once you finish using string a. to knot all remaining strings and have reached the far right you will begin a new row. Start a new row with the far left string again, which is now string b. Continue until bracelet is long enough to fit your wrist.


To make the arrow design follow same instructions except when you reach the middle of the bracelet stop. You will finish the other half (the right side) knotting the string in a different direction. Instead of crossing the string in a "4" shape, you will make a backwards "4", show in the picture.


Continue knotting until string meets the middle. The two lead strings should now be in the middle of the bracelet. Knot them together once and then continue the same steps until the bracelet is finished.


This is a current arrow bracelet I am currently working on. It is 20 strings wide!

Monday, August 8, 2011

Leopard Print Tote

Leopard print tote bag with greek symbols Gamma Phi Beta. Bag is 13x14 in. and letters are 4.5x5 in. Learn how to make fabric greek letters in my tutorial.
Full Bag
 Supplies used:

  • tote bag - $5 Walmart
  • leopard print fabric
  • black fabric (border)
  • heat n' bond iron-on adhesive

Zoom On Detail

Sunday, August 7, 2011

Marilyn in Sharpie


Marilyn Monroe drawing done with sharpie marker. Small dots make up the entire set of drawings.
Supplies used: while illustration board 22x24, sharpie markers, rubber cement.


Full face view.
Zoomed one level.

All three levels.

Completed in February 2011